
How to Style Restaurant Food “On the Fly”
As a restaurant photographer, you don’t always have the luxury of a climate-controlled studio and a team of stylists. Most of the time, you’re in a cramped corner of a kitchen with a burger that’s been sitting under a heat lamp for twenty minutes.
Forget the YouTube tutorials about silicone molds and gelatin syrup. When you’re in the field, you need to know how to bring “dead” food back to life and build a hero shot using what’s in your bag.
Based on our latest session with Lisa from Chase Hartwell Productions, here is how to master the art of the “on the fly” food build.
Before you even pick up your camera, you need the right tools. Lisa’s "secret weapons" aren't fancy—they are practical.
The "On the Go" Food Styling Kit
Essential Gear for your Kit:
Glycerin & Spray Bottles: The ultimate trick for making "dead meat" look juicy again.
Precision Tongs: For placing garnishes exactly where you want them without smudging the bun.
Disposable Nitrile Gloves: Keep the grease off your gear and your fingerprints off the food.
Damp Paper Towels: Perfect for adding a subtle, natural sheen to a bun without making it look fake.
Pro Tip: If you’re shooting a menu with multiple items, always shoot the "hard to fix" things first—like sizzling fajitas or melty cheese. Save the burgers and fried bar food for last, as they are easier to "resurrect."
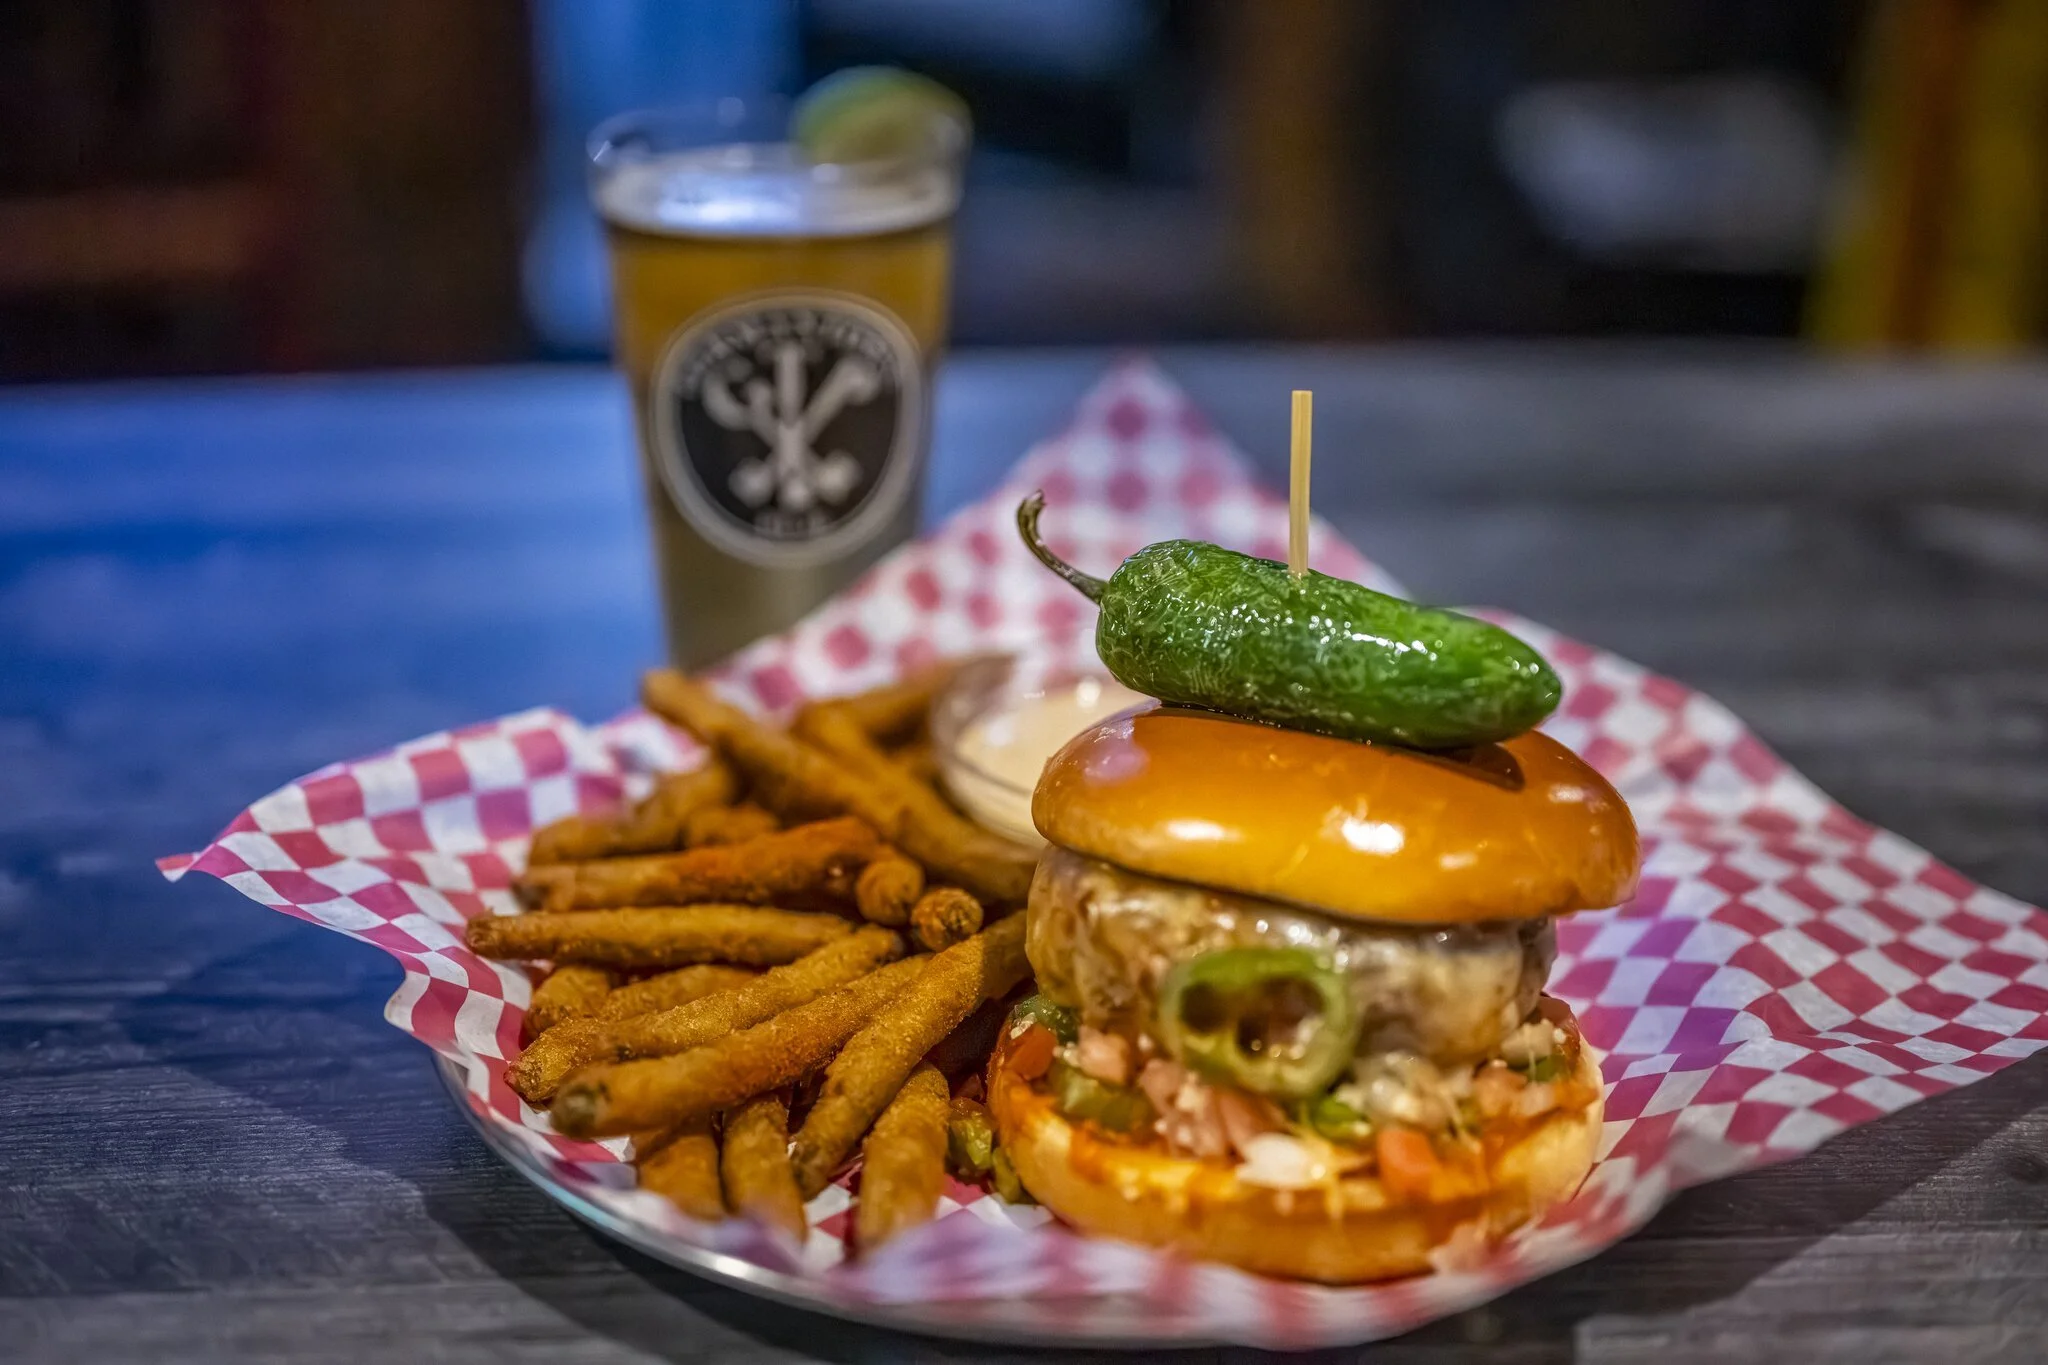
The Anatomy of a Hero Burger
When the kitchen hands you a burger in a box, it’s usually a mess. To get the shot, you need to take it apart and rebuild it from the ground up.
The "Front-Facing" Rule
You aren't shooting a 360-degree video; you're shooting a photo. Pick the best side of the bun and the patty, and rotate everything to face the lens.
Use a "Prop" Fry
Is your burger leaning too far back? Don't reach for toothpicks yet. Lisa suggests taking a home fry, squishing it slightly, and tucking it under the back of the patty. This "kickstand" tilts the ingredients forward toward the camera, making the burger look towering and delicious.
The Order of Operations
If there's no lettuce, follow Lisa’s theory: Onion down first, then the tomato, then the bacon. Fold your bacon strips in half to create more volume and surface area. Remember: if the camera can't see it, it doesn't exist.
Bringing Meat Back From The Dead
We’ve all been there: the kitchen is backed up, and by the time the burger reaches your lens, the patty looks dry and grey.
This is where your Glycerin spray comes in. A light spritz of a glycerin and water mix mimics the look of hot grease and moisture. It stays put longer than water, giving you plenty of time to get your lighting right without the "meat" looking thirsty.
The "Skunky Beer" Secret
Need a beer in the shot but the head has already flattened?
Don't bother the bartender for a fresh pour. Keep a small container of Table Salt in your kit. A quick pinch of salt dropped directly into the glass will reactivate the carbonation and create a fresh, frothy head instantly. It’s a 5-second fix for a 20-minute problem.
Commit To Placement
Once you’ve placed your fries and sprayed your glycerin, commit to the shot. Moving greasy food around on a styling board leaves marks that are a nightmare to fix in post-production.
Ready to build your own pro styling kit? Check out our full list of recommended gear and styling essentials on our Amazon Storefront.
Disclaimer: This post contains affiliate links. If you make a purchase through these links, I may earn a small commission at no extra cost to you. This helps support the channel and allows us to keep creating content like this. Thank you for your support!